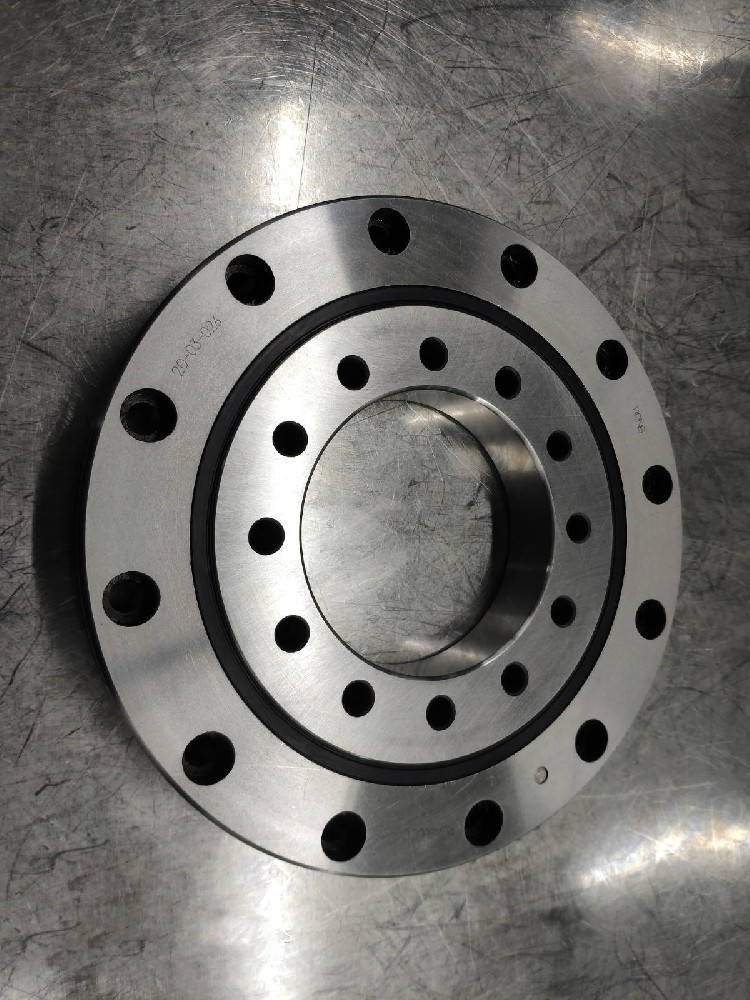
The main methods for measuring bearing clearance include special instrument measurement, simple measurement and feeler gauge measurement.
The feeler gauge measurement method is the most widely used on site and is suitable for measuring the radial clearance of large and extra-large cylindrical roller bearings. The bearing is measured when it is placed upright or flat. In case of dispute, the measured value when the bearing is flat shall prevail. .
The method for determining the maximum radial clearance and minimum radial clearance of the bearing: when measuring along the circumference of the roller and raceway with a feeler gauge, rotate the ring and roller cage assembly for one week, and then rotate the ring and roller cage assembly for three consecutive times. The maximum thickness of the feeler gauge piece that can pass through each roller is the measured value of the maximum radial clearance.
The minimum thickness of the feeler gauge piece that cannot pass on three consecutive rollers is the minimum radial clearance measurement value. Take the arithmetic mean of the maximum and minimum radial clearance measurements as the radial clearance value of the bearing. The clearance value measured using the feeler gauge method allows for errors including the thickness tolerance of the feeler gauge.
When the radial clearance of spherical roller bearings is measured using the feeler gauge measurement method, after the radial clearance value of each row is qualified, the arithmetic mean of the clearance values of the two rows is taken as the radial clearance value of the bearing.


