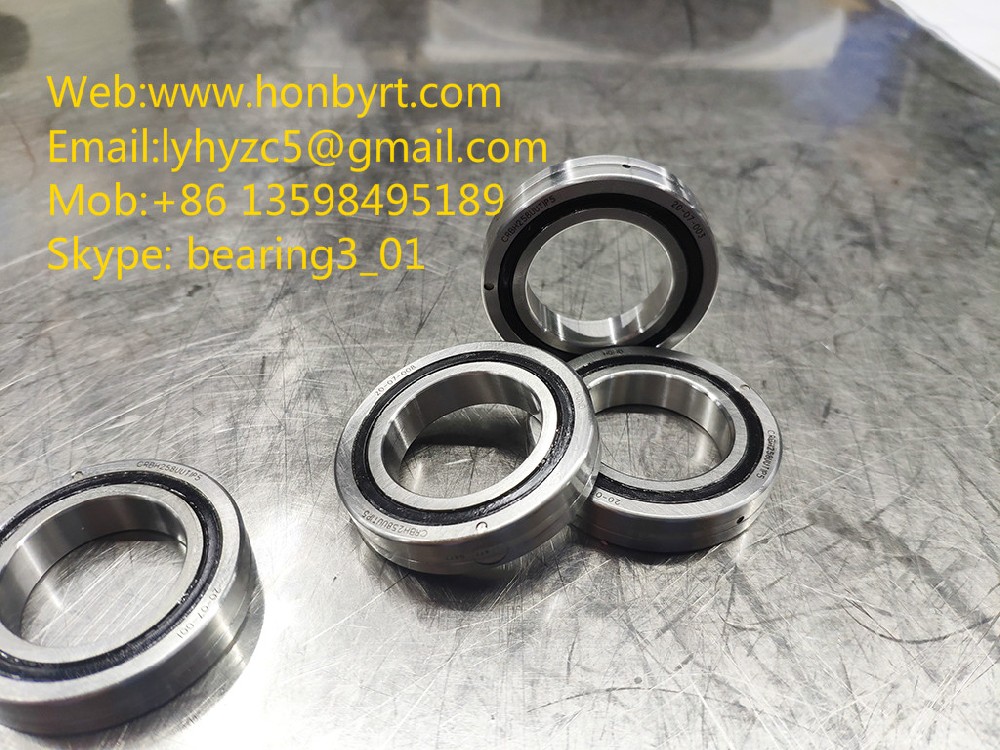
After the deep groove ball bearing is installed in the host machine, there is a measurement index called cyclic rotation accuracy. The number of revolutions required for the approximate recurrence of this change represents the "quasi-period" of the cyclic rotation accuracy. The large magnitude change in the quasi-period is the difference in cyclic rotation accuracy. When appropriate preload is applied to the deep groove ball bearing spindle, this can gradually increase the rotation speed to close to the operating speed to implement the "running-in" effect of the bearing, which can improve the cyclic rotation accuracy of the spindle. Now we will introduce in detail the comprehensive verification method of the installation accuracy of deep groove ball bearings. The verification of installation accuracy should go through the following four steps:
The first step is to measure the dimensions of the shaft and bearing seat hole to determine the fitting accuracy of the bearing. The inner ring and the shaft adopt an interference fit, and the outer ring and the bearing seat hole adopt a clearance fit.
Secondly, install the fixed-end front bearing on the shaft: clean the bearing thoroughly with clean cleaning kerosene, then use an oil gun to fill a certain amount of grease into the bearing; heat the bearing to raise the temperature by 20 to 30°C, and use a hydraulic press to Install the shaft end; press the adapter sleeve on the shaft and use appropriate pressure against the bearing end face to position it axially; wrap the strap of the spring scale around the outer ring of the bearing, and verify the specified value by measuring the starting torque. Whether there is a significant change in preload.
Third, install the deep groove ball bearing-shaft assembly into the seat hole: heat the seat hole to raise the temperature by 20 to 30°C, and install the bearing-shaft assembly into the seat hole with continuous gentle pressure; adjust the front cover to the bearing seat. Use the outer end surface as the reference, touch the dial indicator head against the journal surface, rotate the shaft to measure its runout, position the dial indicator on the shaft, touch the dial indicator head against the inner surface of the rear seat hole, and rotate the shaft to measure the bearing The coaxiality of the front and rear seat holes.
Finally, the free end bearing is selectively placed in a position where the deviation may be offset, and is installed at the rear support position of the bearing seat to offset the mutual roundness deviation and coaxiality deviation as much as possible.
Measure the actual fit accuracy of deep groove ball bearings when installed. At this time, professional measurement methods and measuring tools must be used to carry out actual precise measurements of the mating surface dimensions of the inner hole and outer circle of the bearing, measure all the measurement items related to the inner diameter and outer diameter, and make judgments on the measured data. A comprehensive analysis of. Based on this, the dimensions of the bearing installation part of the shaft and seat hole are precisely matched.


